In this guide you will find how to assign access to the Culture Assessment, steps to launch and then manage the assessment, and how to access the report.
Product Access
Assigning Product Access
To assign and manage product access, Administrators or User Administrators can do so by creating a group and assigning access to that group. There are a few types of product access:
- Culture Survey Participant: Access to the Culture product. This simply allows a user to be added and/or invited to a culture assessment that is subsequently created.
- Culture Survey Manager: Access to administer a culture assessment, including launching a assessment, viewing completion statistics, and managing access to the report results. Culture Survey Managers will also have access to the report results by default.
|
By default, users will not have access to the product. To access the Culture Assessment, you will need to explicitly grant them access via Groups. |
To grant a user access to a product you will need to grant them access through a group by following these steps:
- Create or identify a group of individuals who should be granted access
- At this step you can add users to the system if they are not in there already
- Grant product access to that group
Continue reading for more details on creating a group and granting product access.
Creating a Group
- Navigate to the Administration section of the application and select the ‘Groups’ tab.
- Select the ‘Create a Group’ button.
- Create a name for your group e.g., Executive Leadership Team.
- Save the group.

Adding Users to a Group
If the users do not exist in the account:
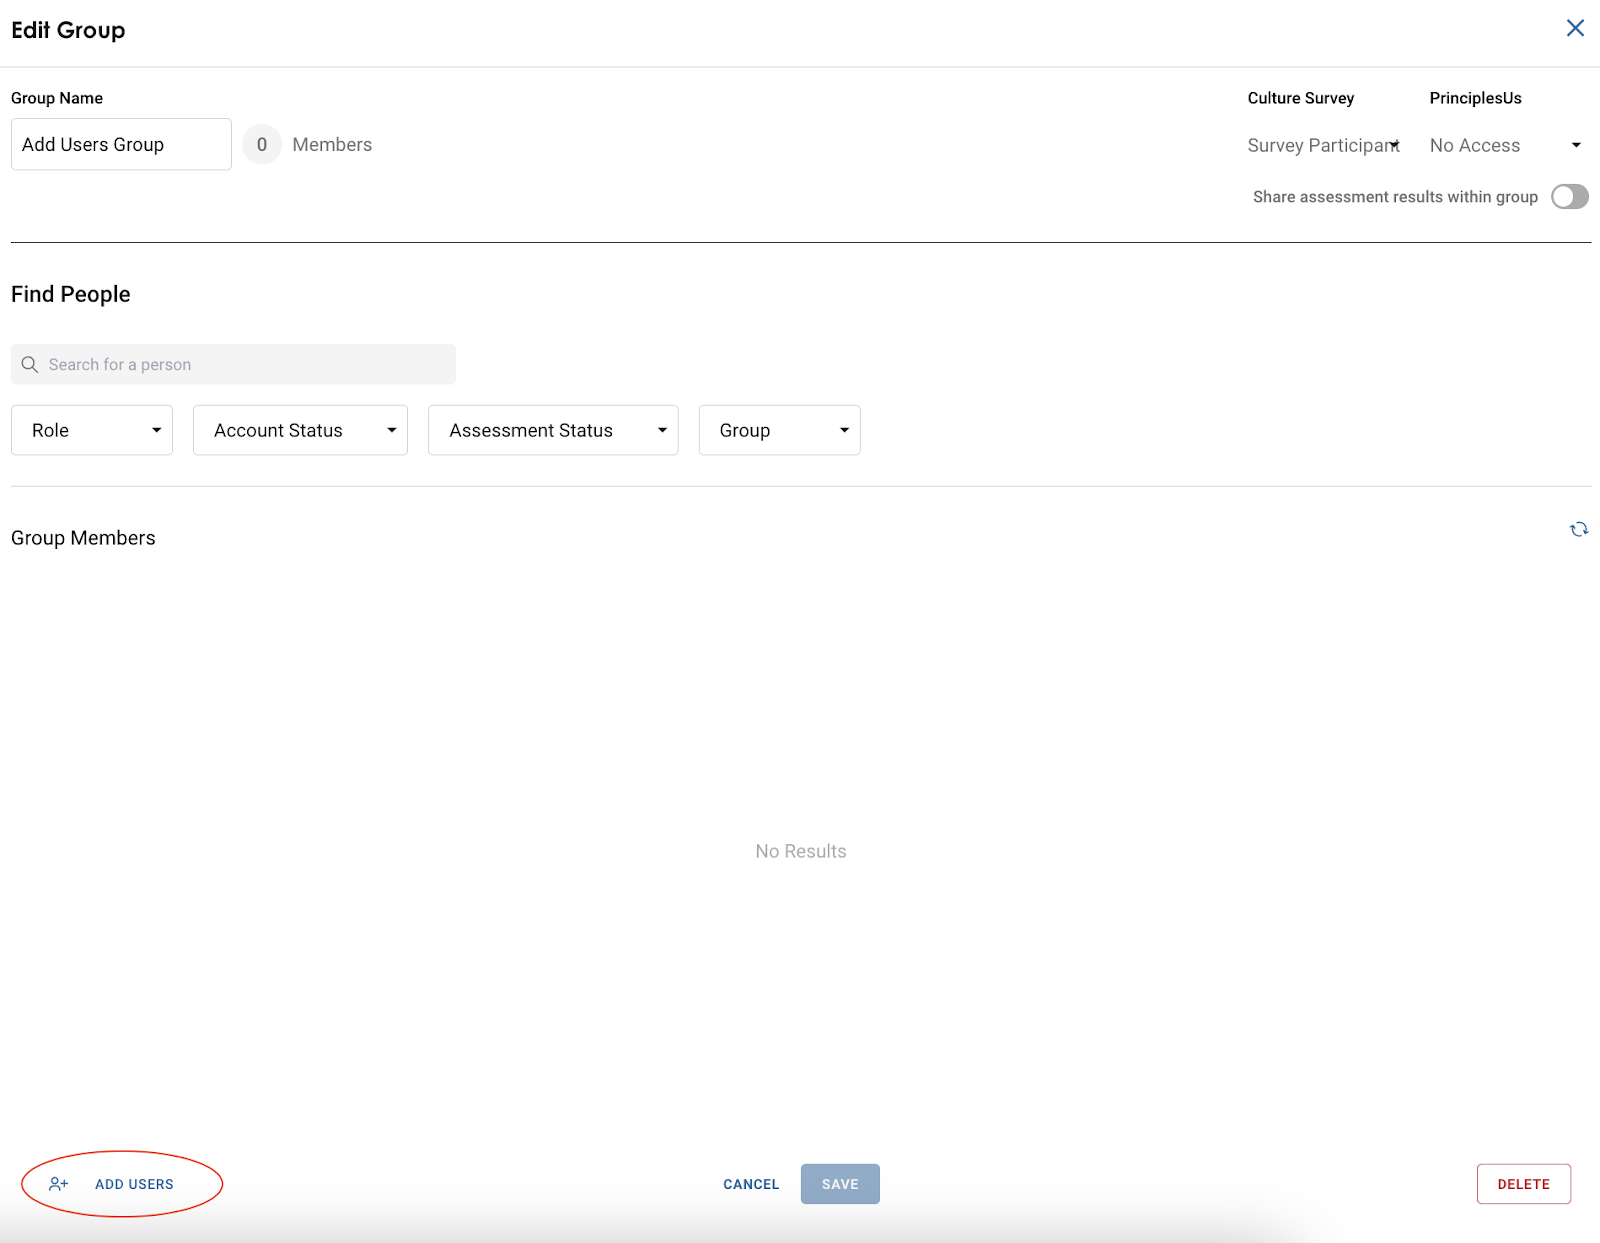
- While within the group, select the ‘add users’ function at the bottom right of the group pop-out.
- This will open a window that allows you to either enter their full name and email address individually, or you can utilize the bulk add function.
- If using the bulk add function, you will need to select ‘add’ first to load the users in.
- If using the bulk add function, you will need to select ‘add’ first to load the users in.
- Once you enter the users you wish to invite, select the ‘add users’ button to invite them to the tool.
-
- Doing so will send them an invitation to complete their account set up, which is optional to complete prior to a culture assessment being launched.
Please note: When adding users to the tool (if SSO isn't configured for your account), users will receive an invitation email prompting them to set up their Principles account. They do not need to do this before you launch an assessment
to them; this is an optional step at this time. However, you may want to add users and ask them to set up their account if you would like to grant them an elevated level of access (i.e., Administrator, User Administrator or Culture Survey Manager).
If the users exist in the account already:
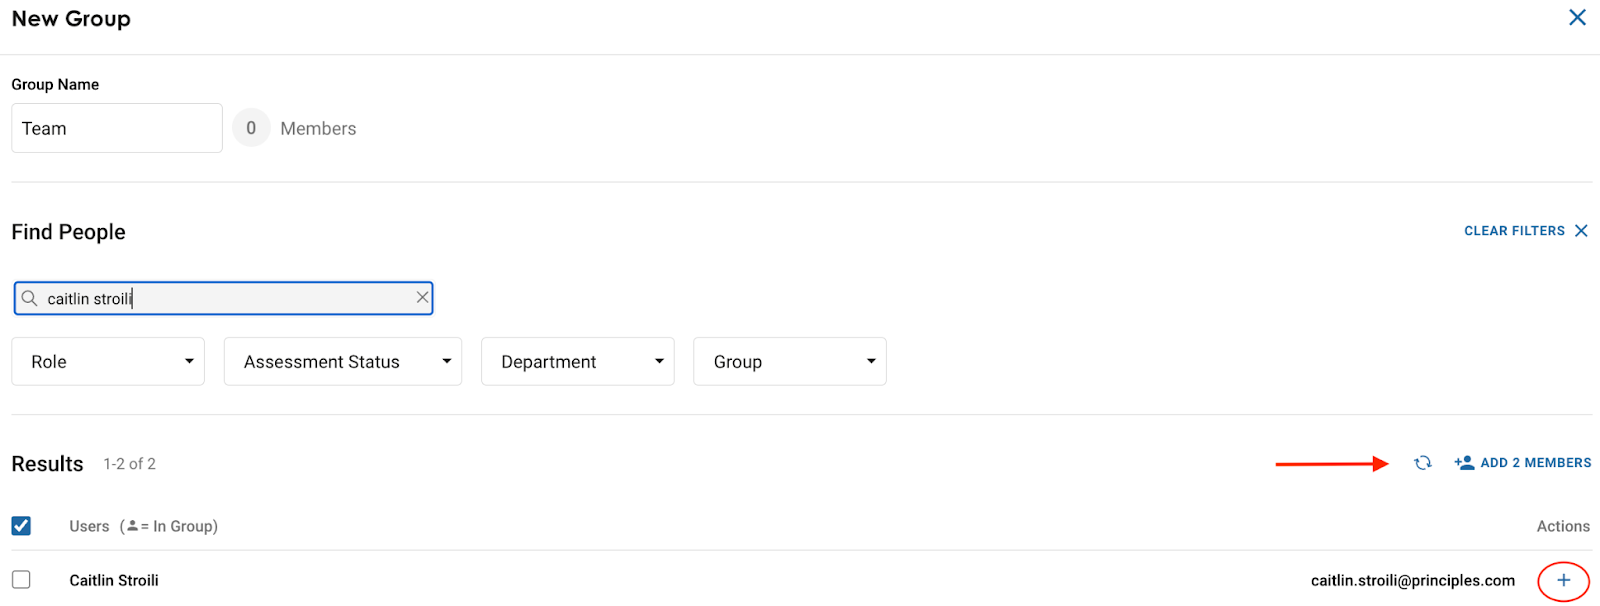
- Find users by either searching for their name using the search bar and/or by using the filters available. To add users to a group, you can either:
- Add people in bulk by selecting the checkboxes next to each person’s name and selecting ’Add [X] Members.’
- Add people individually by selecting the plus ‘+’ sign on the right-hand side of the page in-line with that person’s name
- To successfully create a group and add users, you must select the save button. Simply selecting the ‘Add Members’ button or the ‘+’ sign will not save a group or any edits made, and any unsaved changes will be lost.
- After saving a group and the filters and/or search bar is cleared, you will see all users you have added listed under the ‘Group Members’ section.
Granting Product Access
Access to products is granted by assigning access to an existing and/or newly created group by following the steps below:
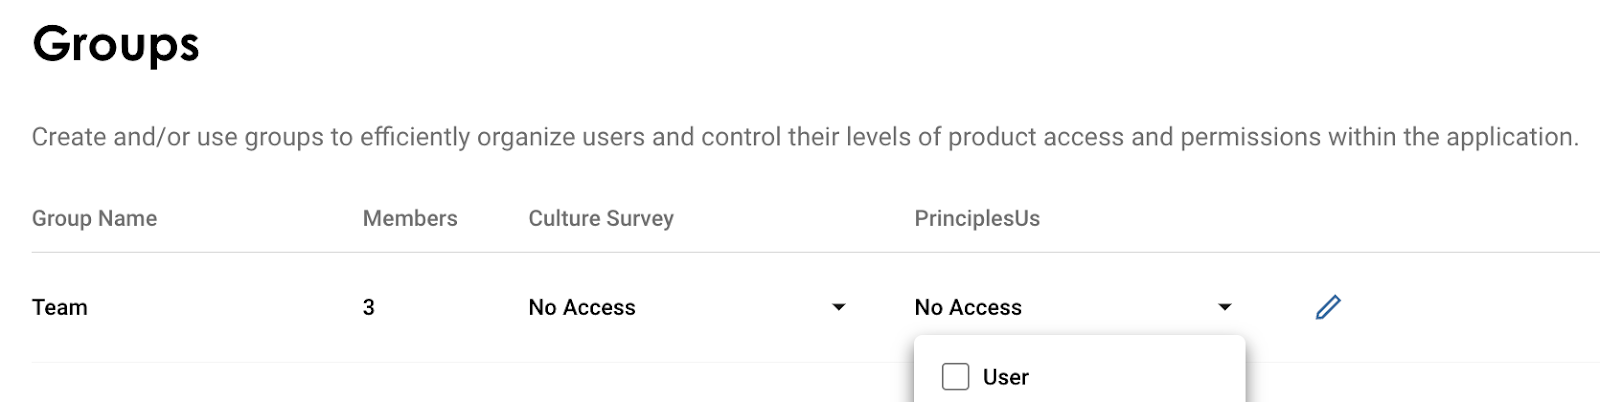
- Navigate to the Administration section of the application and select the ‘Groups’ tab.
- Find the group and associated group members that you would like to grant product access to.
- Grant or manage product access by selecting the dropdown under the Culture Survey column:
- Survey Manager: Can create and launch assessments, view completion statistics, and manage access to the assessment report results.
- Survey Participant: Can be invited to participate in a Culture Assessment
- .
Removing Users from a Group
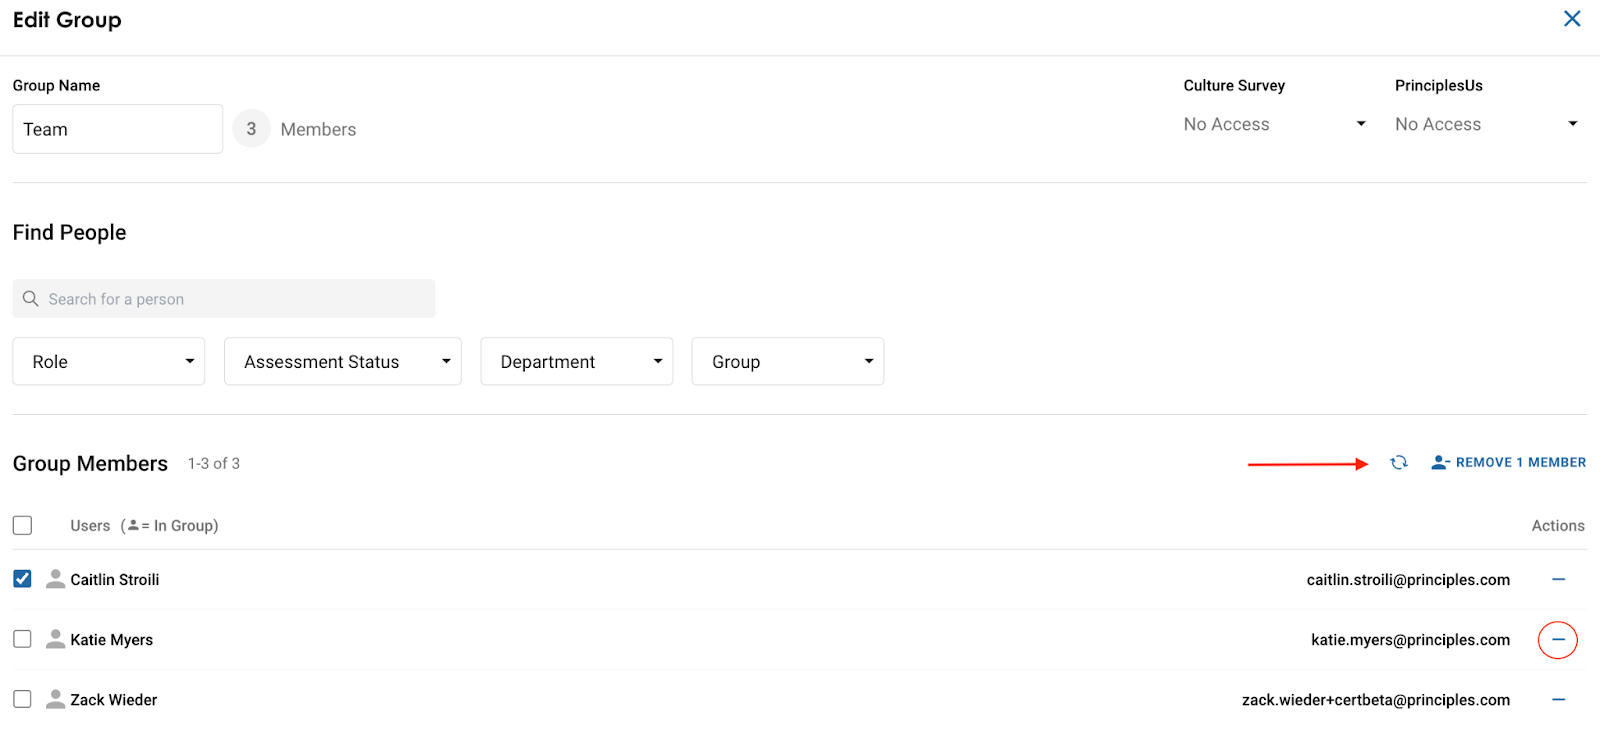
- Find the group you would like to edit and select the edit ‘pencil' icon.
- Once selected, you will see all members of the group listed under ‘Group Members.’
- To remove a user(s) from the selected group, you can either:
- Remove people in bulk by selecting the checkboxes next to each person’s name and selecting ’Remove [X] Members.’
- Remove people individually by selecting the minus ‘-’ sign on the right-hand side of the page in-line with that person’s name.
Select save to ensure your edits are not lost before exiting the page.
5Cs Culture Assessment
Product Overview
The PrinciplesUs™ Organizational and Team Culture Assessments are scientifically-backed diagnostic tools that provide comprehensive lenses to evaluate the multifaceted aspects of both an organization’s internal environment and the dynamics within individual teams. These assessments assess critical factors like employee job satisfaction, team cohesion, and organizational performance, allowing for actionable insights at both the macro (organization-wide) and micro (team-specific) levels.
Both assessments rest on the 5C's Model of Culture, which includes the principles of Connection, Candid Communication, Clarity, Collaboration, and Contribution. A healthy 5C's report at either the organizational or team level indicates a strong, well-established culture that fosters growth, innovation, and a shared sense of purpose among its people.
Assessment Quick Start
Prerequisites
Before launching a new Culture Assessment:
- You must be an active user granted 'Culture Survey Manager' access or have an Administrator or User Administrator account role.
- You will need to ensure that there is a group created that contains all of the people you would like to participate in the assessment.
- Another Organization survey cannot be ‘in progress’ within the organization, but you can have as many Team Surveys as needed, just not to the same group.
Creating a Culture Assessment
Note that we currently do not support draft assessments, so once you click ‘Create Survey’ the assessment will be ‘live’ and accessible, even if you choose to delay invitations.
To create a new Culture Assessment:
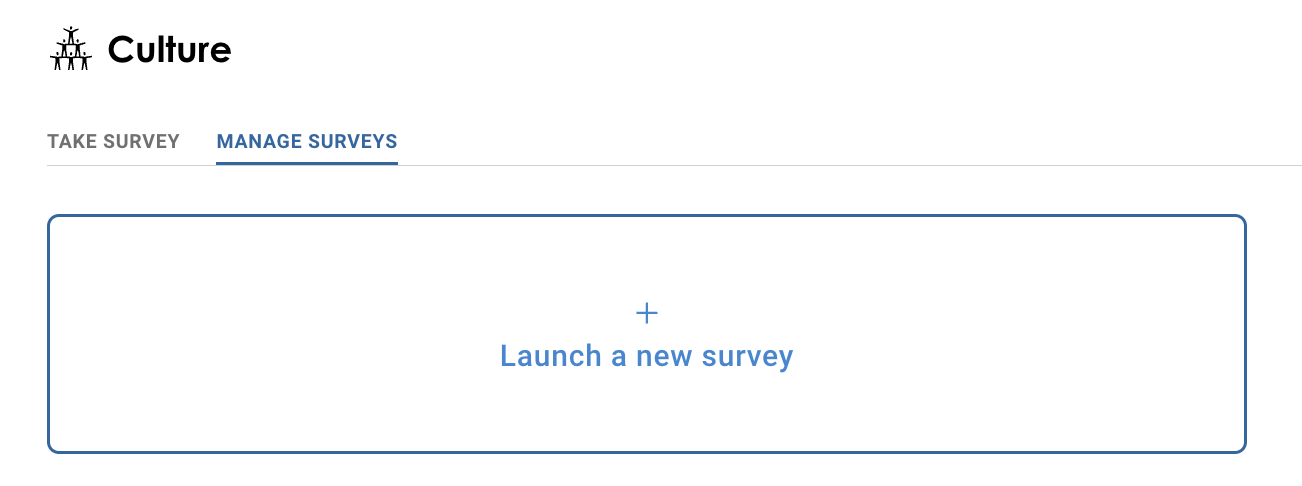
Navigate to the ‘Culture’ tab in the left hand navigation bar of the application, click ‘Manage Surveys’, and select ‘Launch a new survey.’
- Survey Type: There are two types of assessments available, Organization and Team.
- Select the type of assessment that aligns with the group's focus for assessing culture. For example, if the goal is to evaluate the culture of the entire organization, choose the Organization Survey. However, if the focus is on the culture of a specific team, such as the Marketing team, select the Team Survey.
- Please note: There can only be one Organizational Survey live, or in progress, at the same time. While there can be more than one Team Survey live at the same time, the Group selected must be different i.e., a tenant cannot have more than one Team Survey live at the same time for the same Group.
- Survey Name: You can leave the name as is, or you can create a custom name for it.
- For Organizational Surveys, please keep in mind that this will be the assessment name populated in the invitation and reminder emails.
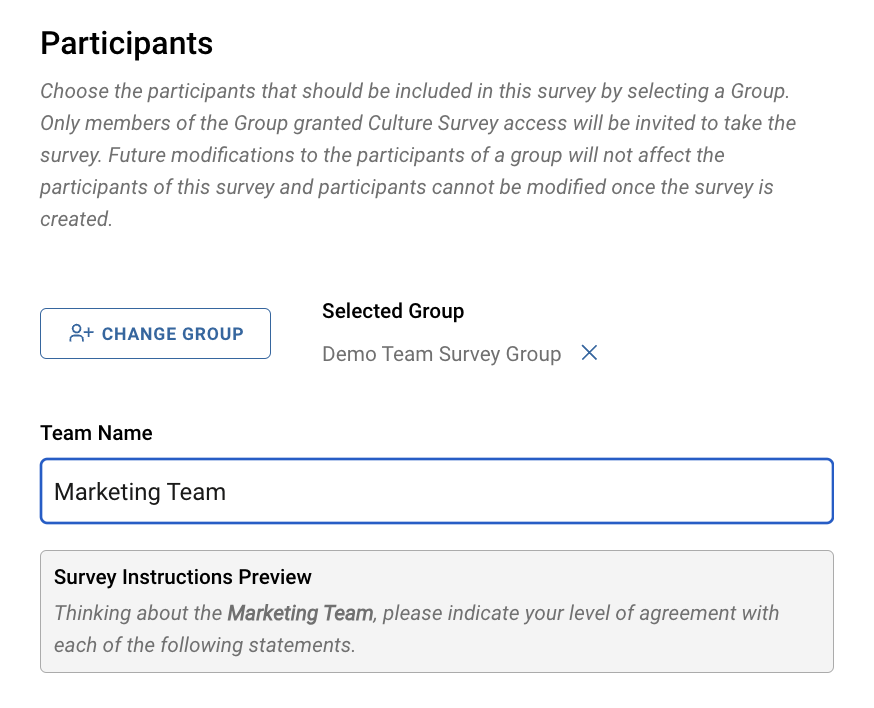
- For Team Surveys, you can edit the name that is pulled into the invitation and reminder emails on the right hand side after selecting the group of participants.
- Support Contact Email: Provide the email address users can contact with questions about the assessment, such as its purpose, how the results will be used, and other related inquiries.
- Survey Deadline: Set the date and time that the assessment should close. This can be edited later at any time before the deadline when the assessment is ‘live’. Once an assessment is closed you cannot reopen it.
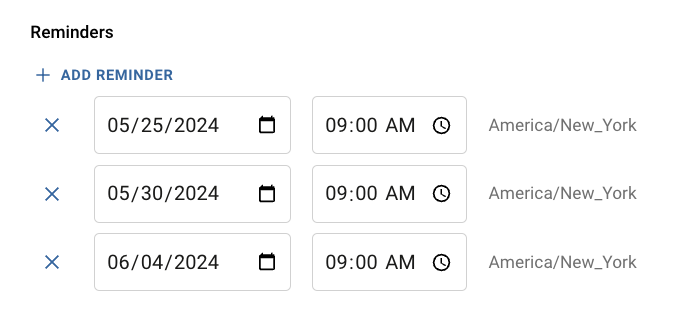
- Survey Reminders: Add the dates and times you would like reminders to be sent to any participants that have not completed the assessment yet.
- Specify the dates and times for reminder emails that will prompt participants to complete the assessment by selecting ‘add reminder.’
- Similar to the assessment deadline, you can add or delete reminders at any time after the assessment is launched.
- Note: There is a current limitation where only one reminder email can be sent per day.
- See example of the reminder email below:
- Participants: Select the previously created administration group of survey participants. Once a group is selected and the assessment is launched, any modifications to the group will not affect the participants of the assessment. You will not be able to add participants once the assessment has been launched.
- Create Survey: Before selecting this, please ensure that all of the details are finalized. Once you select ‘Create Survey,’ it will be considered 'in progress,' and users can access and complete the assessment, even if you have chosen to send invitations later. As such, you should only select ‘Create Survey’ when you are ready for the survey to be live and accessible.

-
- You can either launch the assessment and send the invitations right away by selecting the ‘send’ button, or you can opt to send the invitation late by selecting ‘not now’.
- If you have chosen to send assessment invitations later, you can send those invitations at any time by following these steps:
- Navigate to the ‘Culture’ tab and select ‘Manage Surveys.’
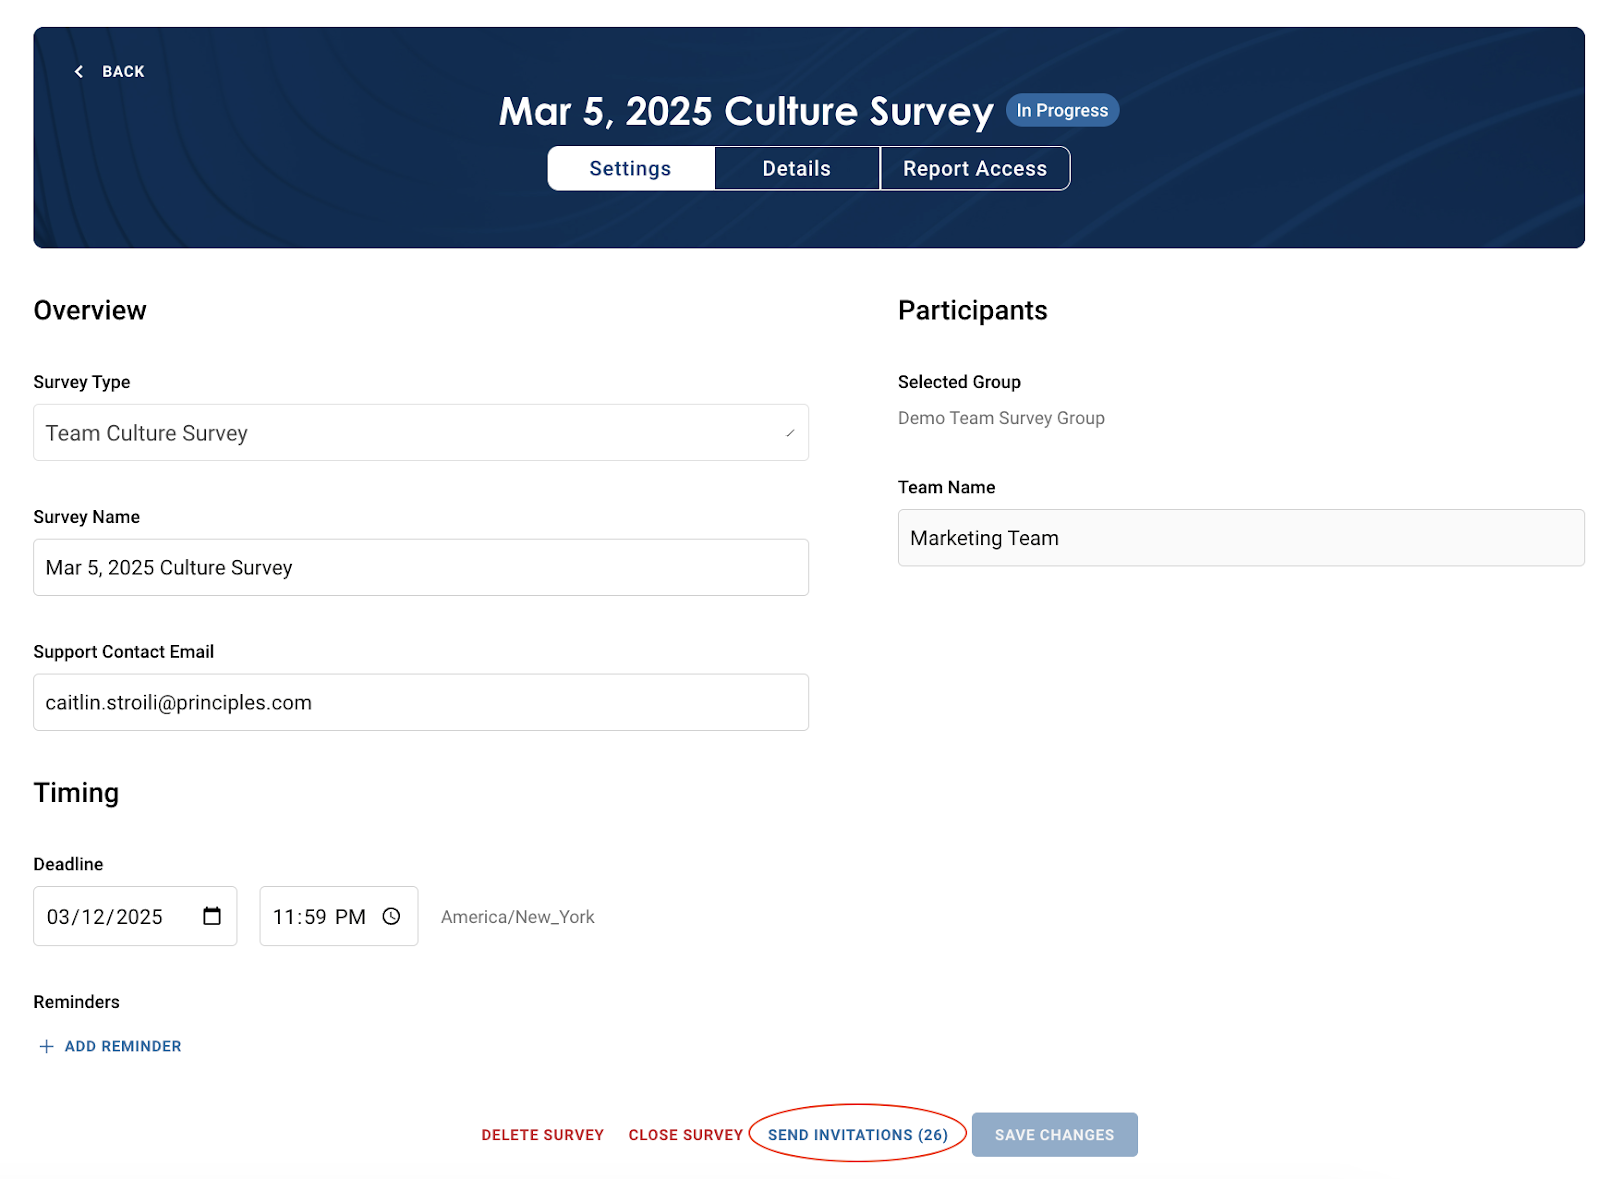
- Find and select your ‘In Progress’ assessment.
- Click on the ‘Settings’ tab and select ‘Send Invitations’ to send the Culture Survey invitation to all selected participants. See screenshots of this flow below:
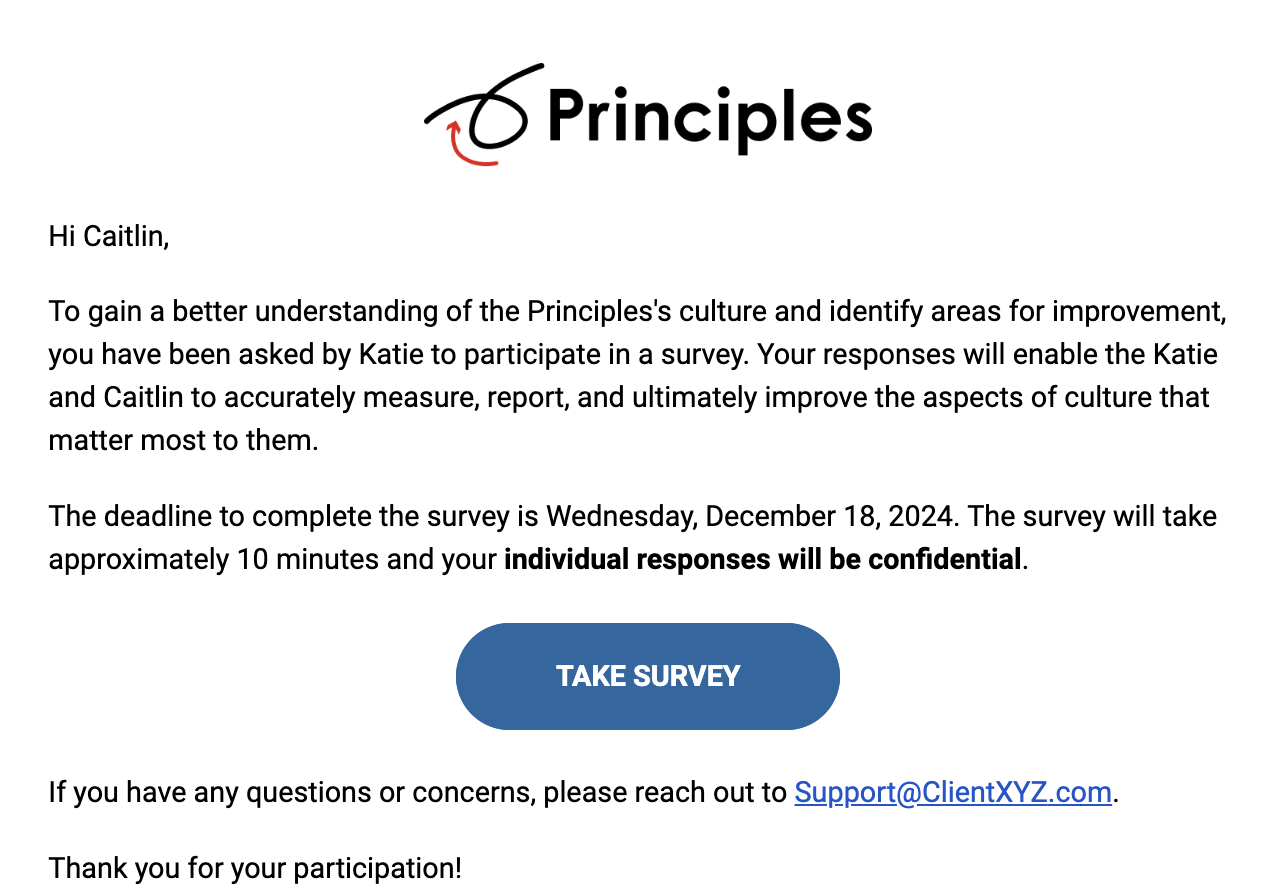
See invitation email below:
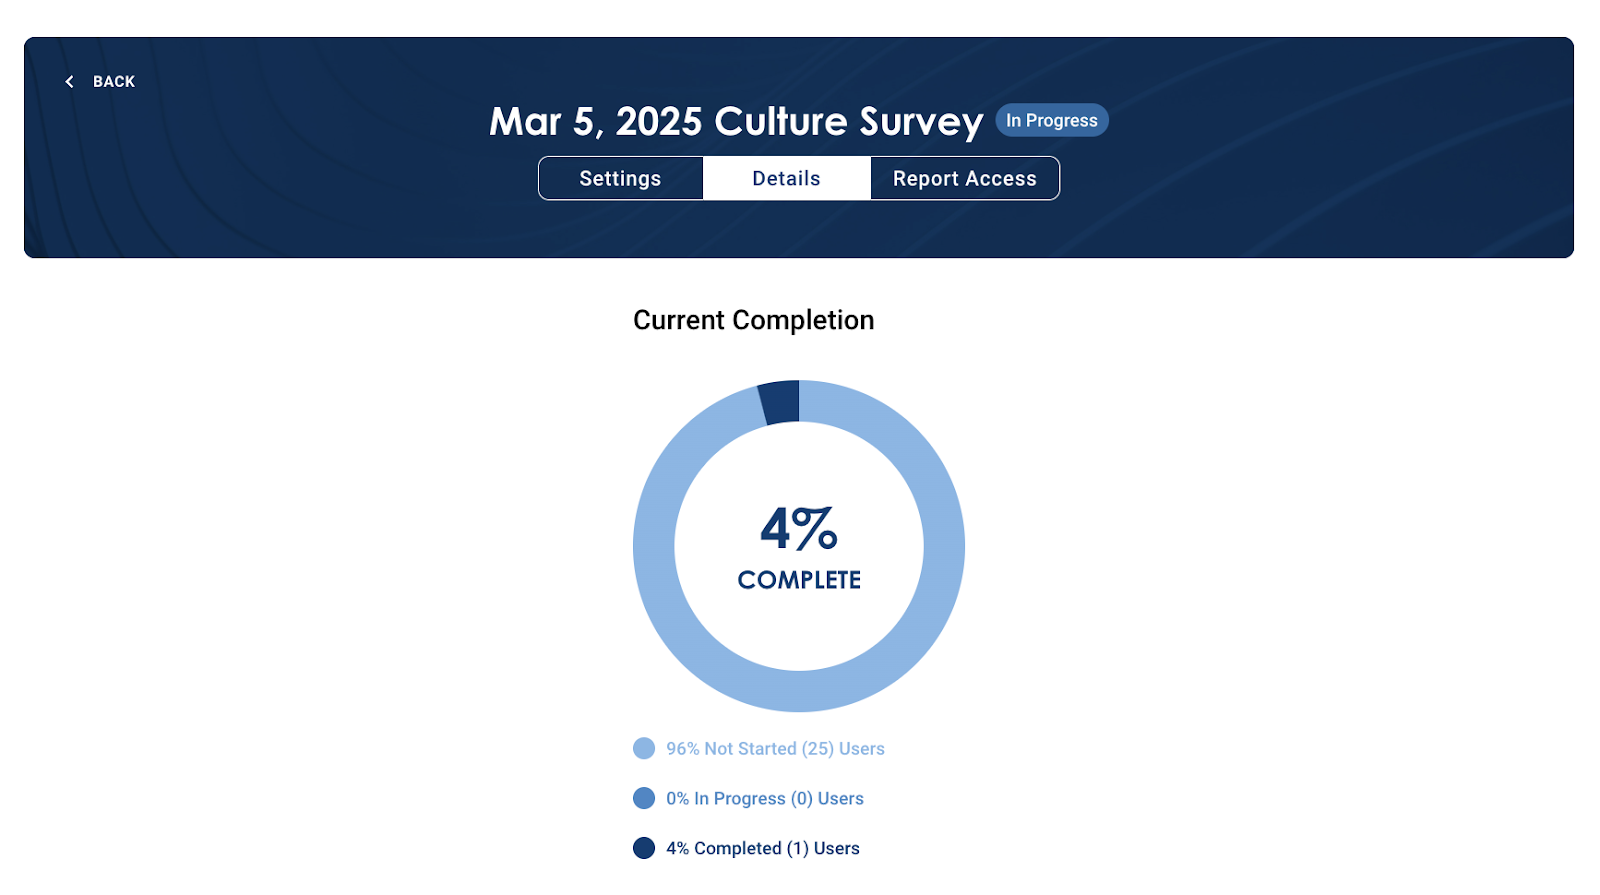
Overview of Completion Statistics
You can view an assessment's completion statistics at any time by selecting a assessment and navigating to the ‘Details’ tab. For assessments that are ‘In Progress,’ these statistics will be updated in real-time.
On the left-hand side of the page, you will find the current completion for the entire organization, broken down by percentage of participants who have completed the assessment, not started the assessment, or where it is in progress.
Known Limitations
- Users cannot be added to an in-progress survey after the survey has been launched. If needed, please reach out to Support@principles.com.
- Culture Survey Managers can only view completion statistics at the aggregate level (i.e., they cannot view specifically who has/has not completed a survey). This data can be pulled manually, if required.
- There is no way for Culture Survey Managers to pull the freeform comment data (from the last survey question) themselves today. The coach/client would need to submit a support request.
- Right now, the system default is to hide reports that have fewer than 5 respondents (for confidentiality purposes).
- Only one reminder email can be sent in a day, meaning you cannot launch an invitation and reminder for one survey, or two reminders for one survey, in the same day.
Closing a Culture Survey
A survey will automatically close on the date and time of the previously determined deadline. Once a survey has been closed, it can not be reopened and the report will be generated.
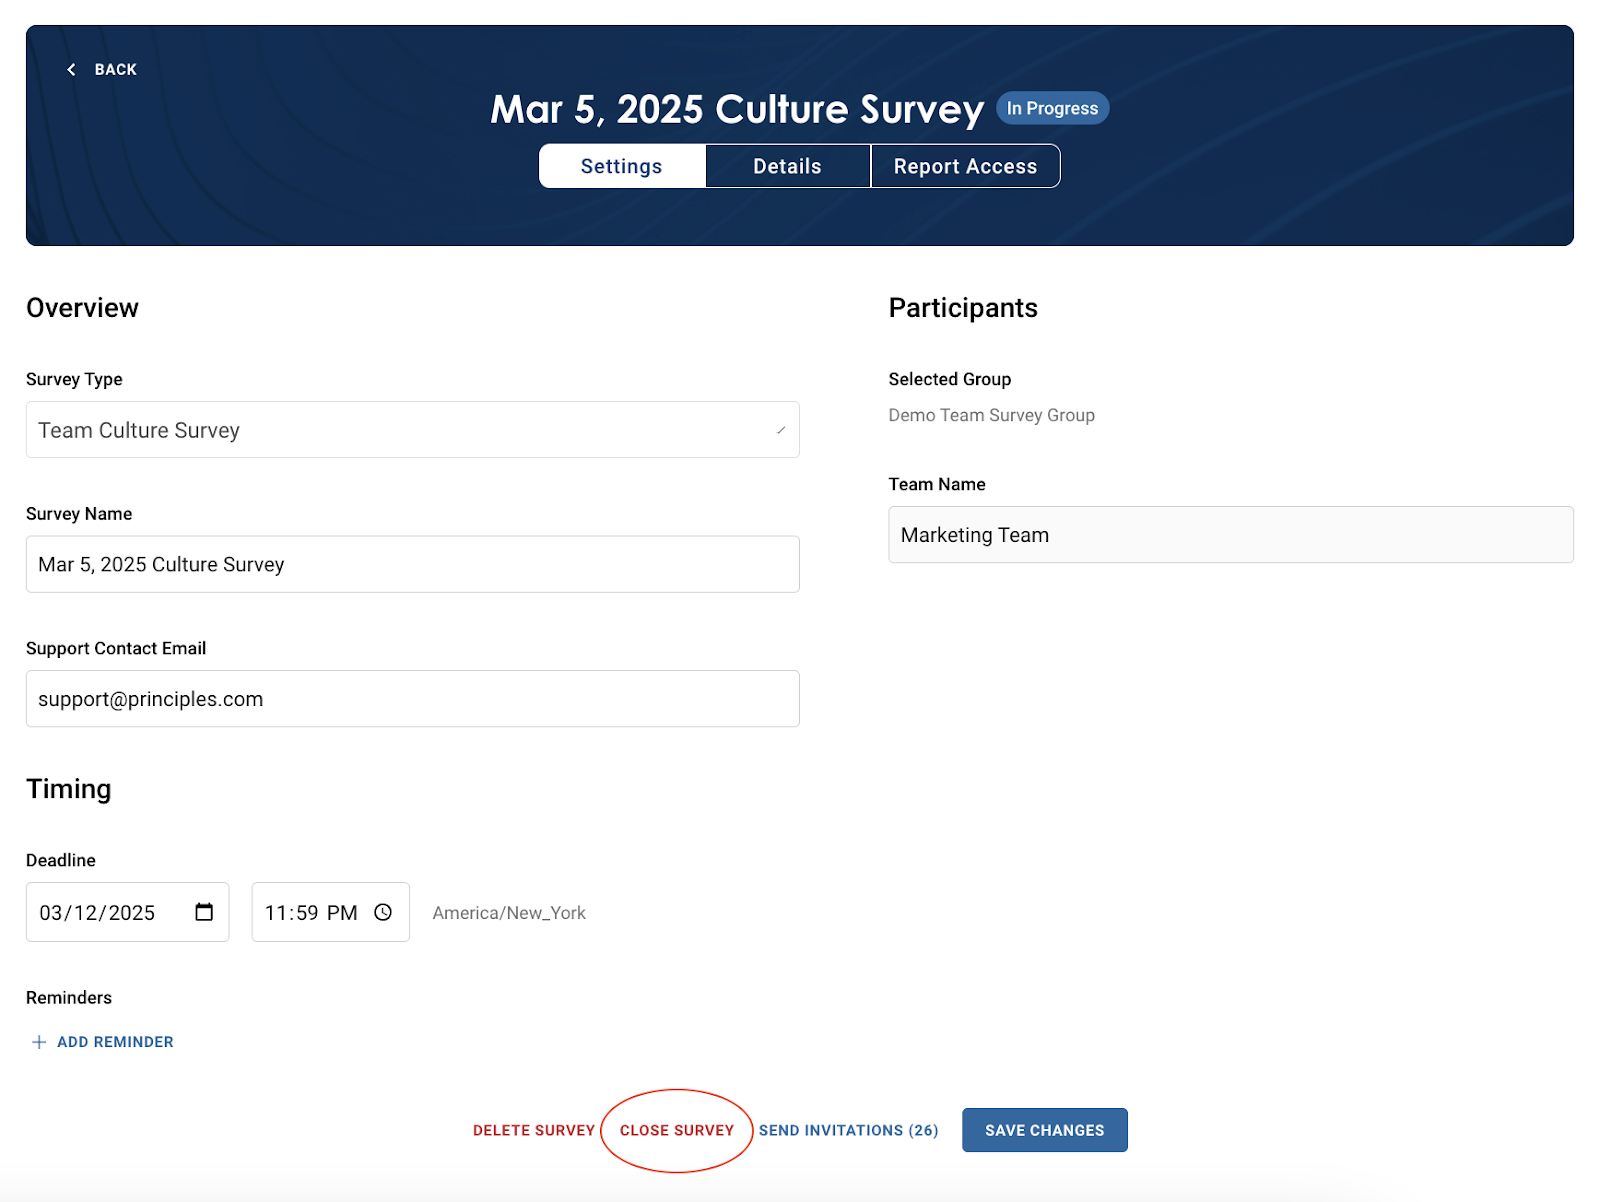
If you would like to close out a survey prior to the previously determined deadline, navigate to the ‘details’ tab of your ‘in progress’ survey and select the ‘Close Survey’ option.
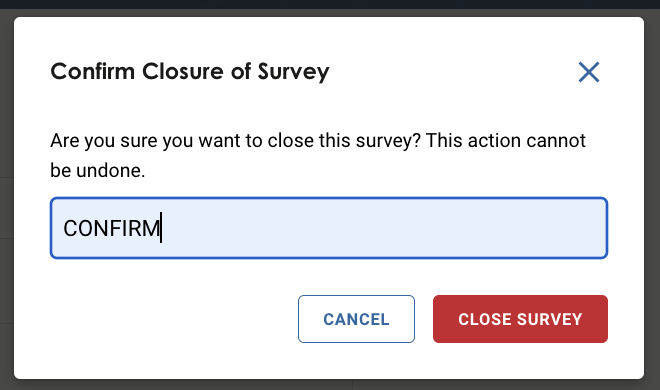
Once you select ‘Close Survey’ and explicitly confirm that you would like to do so, the survey will be immediately closed. As such, any participants who are actively in the middle of responding to the survey will no longer have access and their responses will not be included or saved.
Granting access to Culture Survey Reports
While Culture Survey Managers, Administrators and User Administrators automatically get access to Culture Survey reports, you can also grant access to Culture Survey reports for individuals that do not have those roles.
To do so, follow the below steps:
- Navigate to the ‘Culture’ section of the tool
- Select the Manage Surveys tab and select the appropriate survey
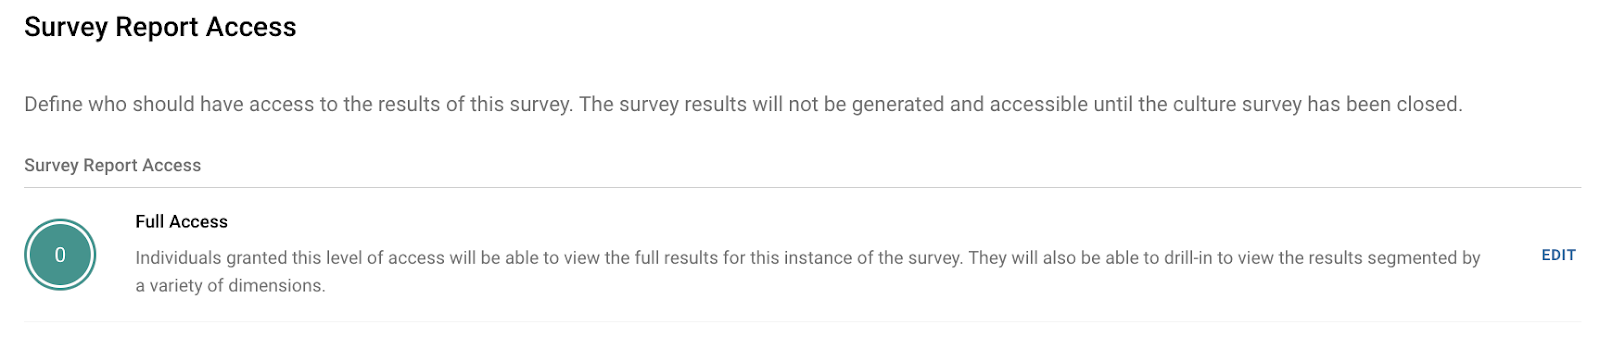
- Once in the survey, select the ‘Report Access’ tab
- Here you can add individuals to have full access of the report by selecting ‘edit’ in line
- Find users by either searching for their name using the search bar and/or by using the filters available. To add users to a group, you can either:
- Add people in bulk by selecting the checkboxes next to each person’s name and selecting ’Add [X Number of] Members.’
- Add people individually by selecting the plus ‘+’ sign on the right-hand side of the page in-line with that person’s name.
- To successfully grant individuals Culture Survey report access, you must select the save button. Simply selecting the ‘Add Members’ button or the ‘+’ sign will not save any edits made, and any unsaved changes will be lost.
- Once you save your edits, you will be able to access all the individuals who have report access.
Reports typically generate approximately 30 minutes after the survey closes.
Accessing Culture Survey Reports
Once a survey is closed, the results of Culture Survey will be available within a 4 hour timeframe.
Once generated, anyone who has access to the report can do so by following the below steps:
- Navigate to the ‘Culture’ section of the tool
- Select the ‘Reports’ tab
- Find the report for the Survey you would like to view and selecting the report, which will open the report in a new tab
You are able to save the report as a PDF by selecting the printer icon at the top right of the page.
Please note: There is no way for Culture Survey Managers to pull the freeform comment data (from the last survey question. If you would like this information, please reach out to Support@principles.com.