To ensure new or existing users receive survey invitations for the Principles Culture Survey, an Administrator or User Administrator must create or update a group and grant ‘Survey Participant’ access.
You will need to Create a Group, Add Users to that Group, and then Provision Product Access.
Creating a Group
- Navigate to the Administration section of the application and select the ‘Groups’ tab.
- Select the ‘Create a Group’ button.
- Create a name for your group e.g., Marketing Team Culture Survey.
- Save the group.

Adding users to a Group
If you are not within the group, navigate back to the 'Groups' tab and select the edit icon next to the appropriate group.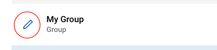
If the users do not exist in the account:
- Once in the group, select the ‘add users’ button at the bottom left of the group pop-up

- This will open a window that allows you to either add each person individually or in bulk.
- To add an individual user, enter the user's first and last names and their email addresses.

- You can add multiple users by selecting the 'Bulk Add Users' option.

- You can enter or paste users into this field directly. Alternatively, you can upload a CSV file by clicking the Upload CSV button or dropping it into the field below.
- Once the users are entered, you will first need to select the ‘add’ button.
Please note, this will not send them any communications yet.
- Once all of the users you wish to add to the system are in the Name and Email columns on this page, you can then select the 'Add Users' button.

If your account is set up with SSO login: doing so will NOT send them an invitation to complete their account set up.
If your account is set up with Email/Password login: doing so WILL send them an invitation to complete their account set up, which is optional to complete prior to a culture survey being launched. However, you may want to add users and ask them to set up their account if you would like to grant them an elevated level of access (i.e., Administrator, User Administrator or Culture Survey Manager).
If the users exist in the account already:
- Find users by either searching for their name using the search bar or by using the filters available.
- Add people in bulk by selecting the checkboxes next to each person’s name and selecting ’Add [X] Members’

- Add people individually by selecting the plus ‘+’ sign on the right-hand side of the page in-line with that person’s name.

- To successfully create a group and add users, you must select the save button. Simply selecting the ‘Add Members’ button or the ‘+’ sign will not save a group or any edits made, and any unsaved changes will be lost.
- After saving a group and the filters and/or search bar is cleared, you will see all users you have added listed under the ‘Group Members’ section.
Seeing the person icon next to a user's name indicates that they are already a part of the group that you are creating, and there is no need to add them again.
Granting Product Access
Product access is granted by assigning permissions to an existing group or to a newly created group, using the steps below:
- Navigate to the Administration section of the application and select the ‘Groups’ tab.
- Find the previously created group with the users that you would like to grant product access to.
- Grant or manage product access by selecting the dropdown under the Culture Survey column and selecting the appropriate access for the group users, Survey Participant or Survey Manager:
-
- Survey Manager: Can create and launch surveys, view completion statistics, and manage access to the survey report results.
- Survey Participant: Can be invited to participate in a Culture Survey.
-

Removing Users from a Group
- Find the group you would like to edit and select the edit ‘pencil' icon.
- Once selected, you will see all members of the group listed under ‘Group Members.’
- To remove a user(s) from the selected group, you can either:
- Remove people in bulk by selecting the checkboxes next to each person’s name and selecting ’Remove [X] Members’
- Remove people individually by selecting the minus ‘-’ sign on the right-hand side of the page in-line with that person’s name.
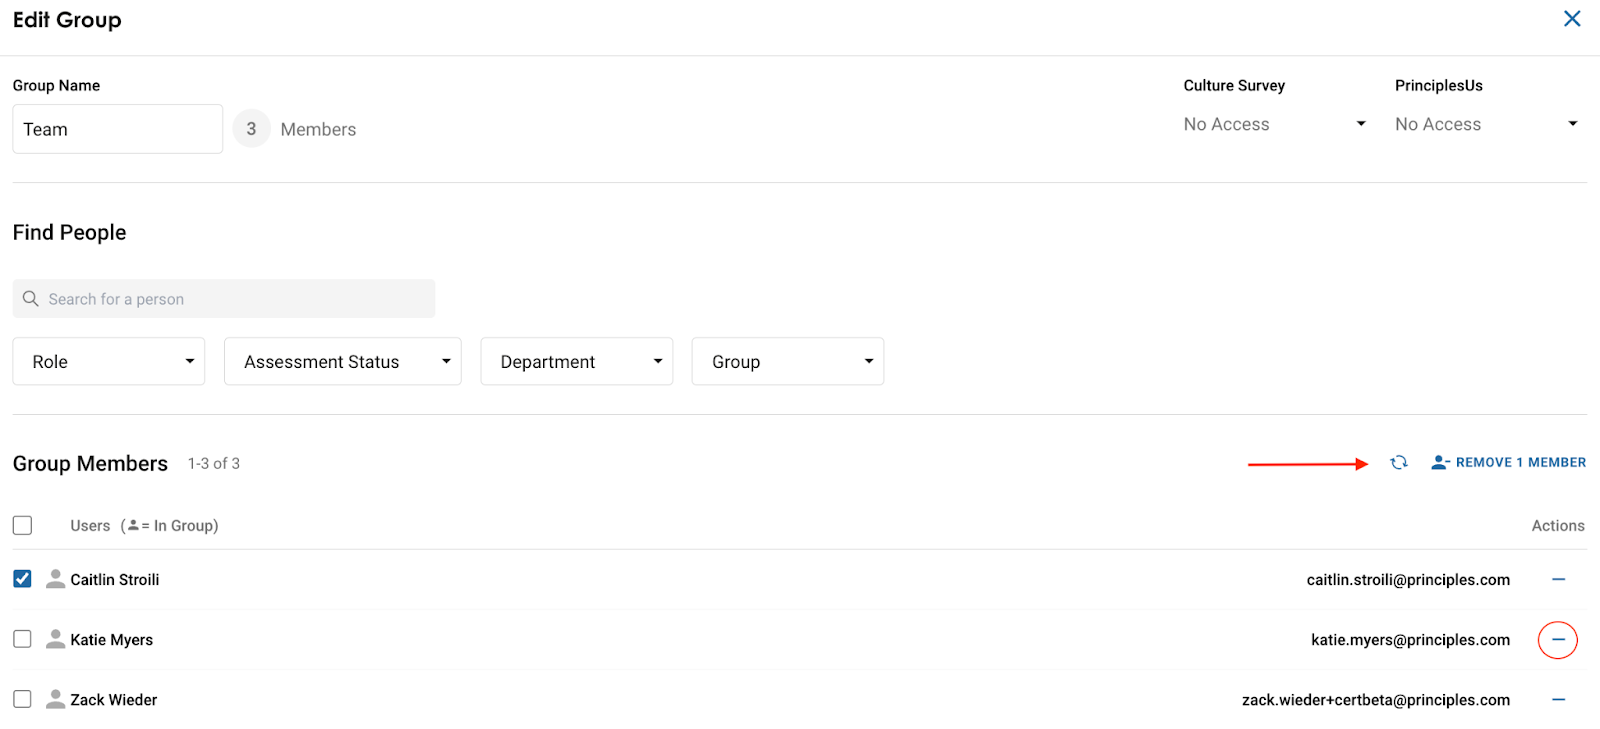
Select save to ensure your edits are not lost before exiting the page.